Traveling internationally is an exhilarating experience, but for many, the prospect of clearing immigration and passport control can be a source of anxiety. Whether you are a seasoned globetrotter or a first-time flyer, understanding the border control process is crucial for a smooth entry into a new country. Passport control is the primary checkpoint where government officials verify your identity and your legal right to enter the country. This guide breaks down exactly what happens at passport control so you can approach the counter with confidence.
Prerequisites: What You Need to Have Ready
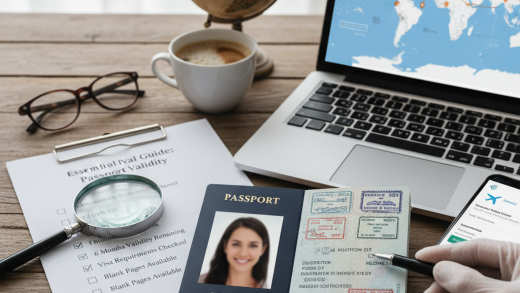
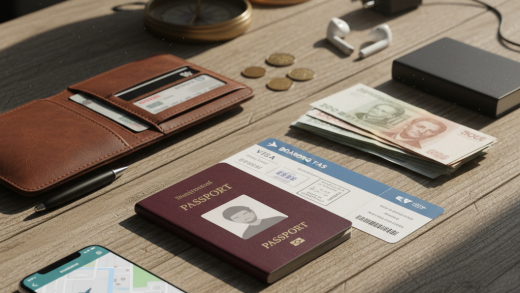
Before you even step off the plane, preparation is key. To ensure a swift process, make sure you have the following items easily accessible in your hand, not buried at the bottom of your carry-on bag:
- Valid Passport: Ensure it has at least six months of validity remaining beyond your date of return.
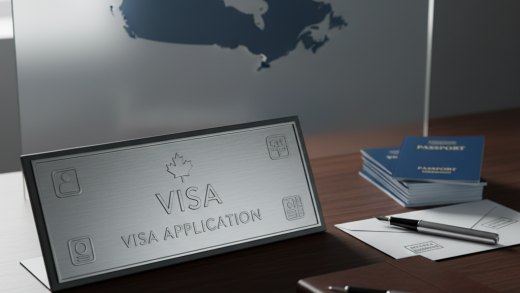
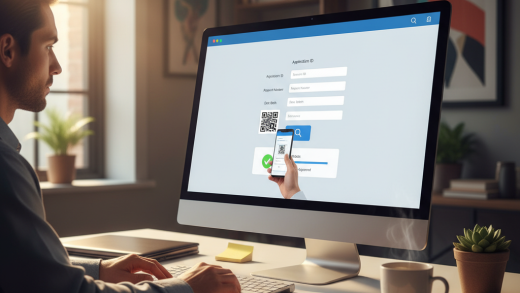
- Visa or Electronic Travel Authorization: If required for your destination (e.g., ESTA for the USA, ETA for Canada).
- Landing Card / Arrival Form: Many countries still require a paper form filled out with your flight and accommodation details, though some have moved to digital kiosks.
- Proof of Return Travel: A return ticket or onward journey confirmation.
- Proof of Accommodation: The address of your hotel or where you will be staying.
Step 1: Choosing the Correct Queue
Upon entering the immigration hall, your first task is to select the right line. Signs are usually color-coded and clearly marked. Typically, lanes are divided into two main categories: Citizens/Residents (for passport holders of that country or economic union, like the EU) and All Other Passports/Visitors. Choosing the wrong line will result in being sent to the back of the correct queue, so read the signage carefully.
Step 2: Preparing for the Interaction
As you wait in line, refrain from using your mobile phone; taking photos or making calls is strictly prohibited in most border control areas. As you approach the front of the queue, remove any accessories that obscure your face. This includes sunglasses, hats, and headphones. If you are traveling as a family, ask the attendant if you should approach the booth together; typically, families living at the same address are processed as a group.
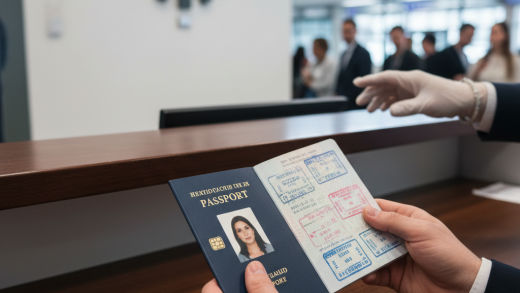
Step 3: The Document Handover
When called forward by the officer, approach the booth confidently. Hand over your passport immediately, ideally open to the photo page. If you have a landing card or visa document, place it inside the passport. The officer will scan your passport to check its authenticity and run it against international security databases to ensure you are not flagged for any reason.
Step 4: The Interview
This is the part that makes most travelers nervous, but it is usually a standard procedure. The officer needs to verify that your intentions match your visa status. Answer all questions clearly, concisely, and truthfully. Do not offer extra information unless asked. Common questions include:
- “What is the purpose of your visit?” (e.g., Tourism, Business, Visiting Family).
- “How long do you intend to stay?”
- “Where will you be staying?”
- “Do you have anything to declare?”
Step 5: Biometric Screening (If Applicable)
Modern border security often involves biometric verification. Depending on the country and your citizenship status, you may be asked to place your fingers on a digital scanner for fingerprinting. You might also need to look into a camera for a facial recognition photo. This process is quick and non-invasive, designed to confirm that the person standing at the booth matches the biometric data on the passport or visa.
Step 6: Using E-Gates (Automated Border Control)
In many major airports, travelers with biometric passports (denoted by a camera symbol on the cover) may be eligible to use E-Gates. If you choose this route:
- Place your passport photo-page down on the scanner.
- Look directly at the screen/camera.
- Wait for the gate to open.
Note that if the machine rejects you, it does not mean you are in trouble; it simply means you need to go to a manned booth for manual verification.
Conclusion
Once the officer is satisfied with your documentation and answers, they will stamp your passport (if applicable) and signal you to proceed. Passing through passport control is a standard formality designed to keep borders safe. By having your documents ready, obeying the rules of the immigration hall, and answering questions honestly, you will pass through the checkpoint efficiently and be on your way to enjoying your destination.