This comprehensive guide is designed to equip you with all the knowledge and tips you need to confidently prepare for and successfully complete your passport interview. We will delve into why these interviews are conducted, the essential documents you must bring, what to expect during the appointment, and practical advice to ensure everything goes off without a hitch.
Understanding the Passport Interview Process
A passport interview serves as a critical security measure and identity verification step for the issuing authority, typically the U.S. Department of State. It allows a Passport Acceptance Agent to verify your identity, confirm your citizenship, and ensure the authenticity of your application and supporting documents. This face-to-face interaction helps prevent fraud and ensures that passports are issued only to eligible individuals.
The interview is mandatory for certain applicants, most commonly those applying for their very first U.S. passport, children under 16, and sometimes for individuals who have lost their previous passport or are reapplying under specific conditions. Understanding its purpose can help alleviate anxiety and highlight the importance of meticulous preparation.
Essential Document Checklist: Your Foundation for Success
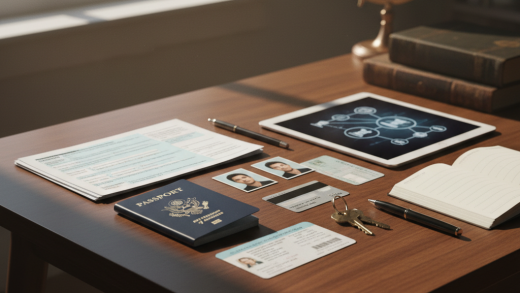
The cornerstone of a successful passport interview is having all your required documents in order. Any missing or incorrect item can lead to delays or even the rescheduling of your appointment. Create a physical checklist and tick off each item as you gather it.
1. Your Completed Passport Application Form
For U.S. citizens, this is typically the DS-11 form, ‘Application for a U.S. Passport’. It is crucial to complete this form before your interview, but do not sign it. You will be required to sign it in front of the Passport Acceptance Agent during your appointment. Ensure all information is accurate and legible.
You can find the DS-11 form online on the Department of State’s official website. It’s often recommended to fill it out electronically and print it, as this reduces the chance of errors or illegibility compared to handwriting.
2. Proof of U.S. Citizenship
- Your previous, undamaged U.S. passport: (If you were under 16 when it was issued, or if it was issued more than 15 years ago, you must also provide proof of identity).
- Certified birth certificate: Issued by the city, county, or state of your birth. Hospital-issued birth certificates are generally not accepted.
- Consular Report of Birth Abroad (CRBA): For those born outside the U.S. to U.S. citizen parents.
- Certificate of Naturalization: For naturalized U.S. citizens.
- Certificate of Citizenship: For those who derived citizenship.
Remember, photocopies must be on plain white, 8.5 x 11 inches paper, single-sided, and clear. Do not laminate your original documents.
3. Valid Photo Identification
- Valid state-issued driver’s license.
- State-issued identification card.
- Valid military identification card.
- Government employee identification card.
Ensure your ID is current and not expired. The name on your ID should generally match the name on your citizenship document and application form.
4. Passport Photos
- Taken within the last six months.
- Color photos, 2×2 inches in size.
- Full-face, front view with a plain white or off-white background.
- No eyeglasses (unless medically necessary with a doctor’s note).
- No hats or head coverings (unless for religious purposes, with a signed statement).
- Neutral facial expression or a natural, slight smile, with both eyes open.
It is highly recommended to get your photos taken professionally at a pharmacy, photo studio, or post office to ensure they meet all specifications.
5. Proof of Social Security Number
While not always explicitly listed as a primary document to bring, you must provide your Social Security Number (SSN) on the DS-11 form. It is wise to have your physical Social Security card or a document showing your SSN readily available, in case the agent requires additional verification.
6. Supporting Documents for Special Cases
- For name changes: Original marriage certificate, divorce decree, or court order.
- For minors (under 16): Both parents must appear with the child, provide their own valid IDs, and proof of parental relationship (e.g., child’s birth certificate). If one parent is unavailable, a notarized Statement of Consent (DS-3053) from the absent parent is required.
- For lost or stolen passports: A completed Form DS-64, ‘Statement Regarding a Lost or Stolen Passport’.
Always check the specific requirements for your application type on the Department of State’s website before your appointment.
Organizing Your Documents for Efficiency
Having all your documents is one thing; having them organized is another. A well-organized set of documents demonstrates your preparedness and can significantly speed up the interview process. Consider using a clear folder or a small binder.
Arrange your documents in the order they might be requested: application form (unsigned), proof of citizenship (original and photocopy), proof of identity (original and photocopy), photos, and then any supporting documents. Keep originals separate from photocopies to avoid confusion.
What to Expect During Your Passport Interview
Knowing the typical flow of an interview can help ease any nerves you might have. Most passport interviews follow a predictable pattern.
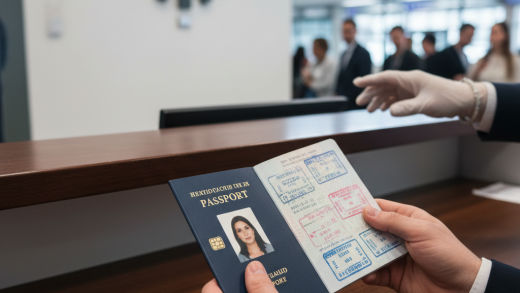
The Arrival and Check-in Process
Upon arrival at the passport acceptance facility (often a post office or court house), you will typically check in and may need to wait until an agent is available. Security checks, similar to those at airports, might be in place, so avoid bringing unnecessary items.
The Interviewer’s Role and Questioning
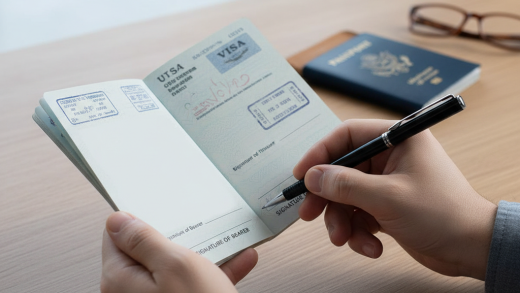
Once called, you will meet with a Passport Acceptance Agent. They will review your application form and all your supporting documents. This is when you will sign your DS-11 form in their presence. The agent may ask you questions to confirm the information on your application.
Common questions include confirming your name, date of birth, place of birth, parents’ names, and your current address. They might also ask about your travel plans or the reason for your passport application. Answer truthfully and concisely.
Biometric Data Collection
In some facilities, especially for first-time applicants, your fingerprints might be taken digitally. A digital photograph may also be captured at the facility, though you are typically still required to bring your own passport photos.
The entire interview process, from check-in to completion, usually takes 15-30 minutes, assuming you have all your documents in order and there are no unexpected issues.
Expert Tips for a Smooth and Successful Interview
Beyond documents, certain behaviors and preparations can contribute to a positive experience.
1. Arrive Early and Be Prepared
Aim to arrive at least 15-20 minutes before your scheduled appointment. This allows time for parking, security checks, and locating the correct office. Being punctual demonstrates respect for the agent’s time and reduces your own stress.
2. Dress Appropriately
While there’s no strict dress code, business casual attire is always a safe bet. Avoid overly casual clothing, hats, or anything that might be deemed inappropriate for a government office. Your appearance can subtly contribute to a professional atmosphere.
3. Be Honest and Confident
Always provide truthful answers to all questions. Attempts to mislead or provide false information can lead to severe penalties and rejection of your application. Speak clearly and maintain eye contact, showing confidence and sincerity.
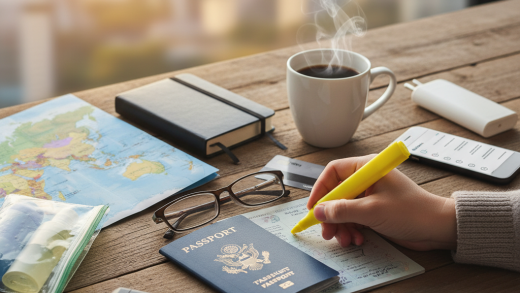
4. Understand Your Application
Review your completed DS-11 form thoroughly before your interview. Be familiar with every piece of information you’ve provided. If the agent asks a question directly related to your application, you should be able to answer it without hesitation.
5. Practice Good Communication
Listen carefully to the agent’s questions. If you don’t understand something, politely ask for clarification. Answer directly, without volunteering unnecessary information. Be polite and respectful throughout the entire interaction.
6. Bring a Method of Payment
Know the passport fees in advance and bring an accepted method of payment. Facilities usually accept checks or money orders payable to the U.S. Department of State, and some may accept credit cards for facility execution fees. Check the specific payment options for your acceptance facility beforehand.
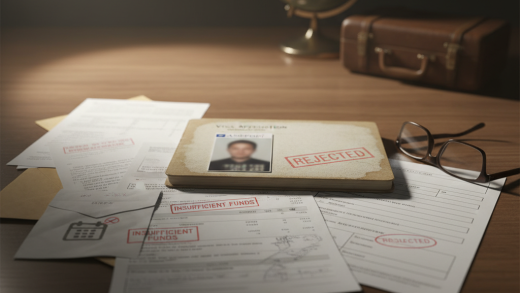
Common Pitfalls to Avoid During Your Interview
Being aware of common mistakes can help you steer clear of them and ensure your application isn’t delayed.
- Missing Documents: The most frequent reason for delays. Double-check your checklist!
- Incorrect Information: Even minor discrepancies between documents or on the application form can raise red flags.
- Unsigned Application Form: Remember, you sign the DS-11 form in front of the agent, not before.
- Expired or Damaged ID/Citizenship Proof: Ensure all original documents are valid and in good condition.
- Non-Compliant Photos: Passport photo requirements are strict. Get them professionally done.
- Bringing Children Without Both Parents (for Minors): If both parents are required, ensure they are present or the proper consent forms are notarized.
Special Considerations for Specific Applicants
Certain situations require extra attention to detail.
Minors and Parental Consent
For applicants under 16, both parents (or legal guardians) must typically appear with the child and present their own valid identification. They must also provide proof of their parental relationship to the child (e.g., the child’s birth certificate). If one parent cannot be present, a notarized Statement of Consent (DS-3053) is required from the absent parent, along with a copy of their ID.
Lost, Stolen, or Damaged Passports
If you’re replacing a lost, stolen, or severely damaged passport, you’ll need to submit Form DS-64, ‘Statement Regarding a Lost or Stolen Passport’, in addition to the DS-11. Reporting a lost or stolen passport immediately is crucial to prevent identity theft.
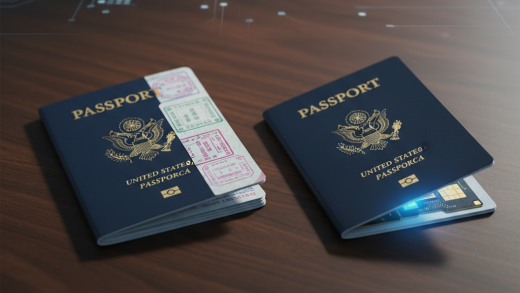
First-Time Applicants vs. Renewals
First-time adult applicants (using DS-11) always require an interview. If you’re renewing an adult passport (using DS-82), you typically mail in your application and do not need an interview, provided you meet specific criteria (e.g., your old passport is less than 15 years old, undamaged, etc.). Always verify which form and process apply to your situation.
After the Interview: What Happens Next?
Once your interview is complete and your application has been accepted, the agent will provide you with information on how to track the status of your passport application online. You will also receive an estimated timeline for when you can expect to receive your new passport and your original supporting documents (which are usually mailed back separately).
Processing times can vary significantly based on demand and the service level you chose (routine or expedited). It’s always advisable to apply well in advance of any planned international travel to avoid last-minute stress.
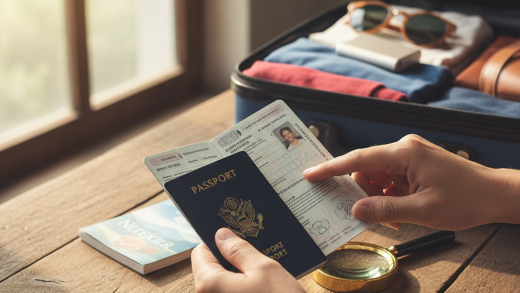
Receiving your new passport in the mail is an exciting moment, but remember to immediately sign it in the designated area. It’s also a good practice to make a photocopy or take a digital image of your new passport’s data page and keep it separate from your physical passport when traveling, for emergency purposes.
Preparing for your passport interview doesn’t have to be a source of anxiety. By meticulously gathering your documents, understanding the process, and following these practical tips, you can ensure a smooth and efficient experience. A little foresight and organization will pave the way for you to receive your travel document and embark on your next global adventure with confidence.