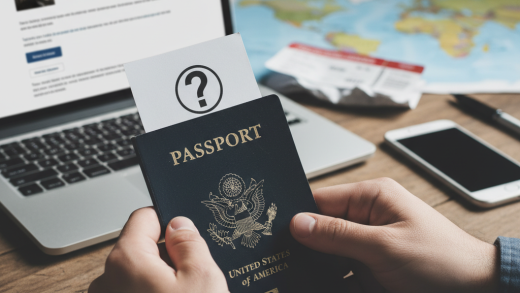
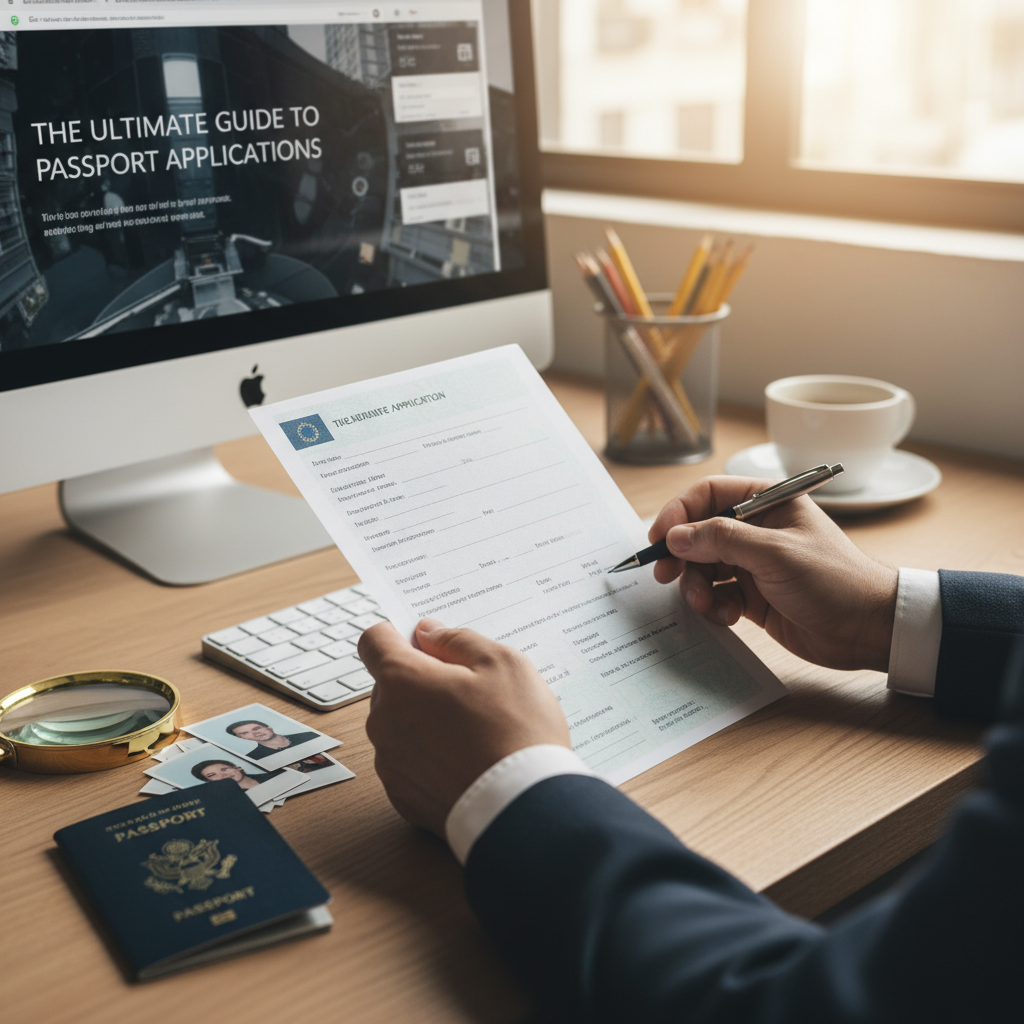
One of the most common reasons for passport delays is a simple error on the application form. A misspelled name, the wrong ink color, or a signature in the wrong place can result in your application being suspended or rejected entirely. This not only wastes time but can also disrupt your travel plans and result in lost non-refundable bookings. Therefore, approaching the form with precision and patience is absolutely essential.
While passport forms vary slightly by country, the United States Department of State’s DS-11 form serves as the standard example for new applicants. This guide will walk you through the general best practices and specific steps required to fill out a passport application correctly, ensuring a smooth process from submission to receipt.
Preparation: Before You Write a Word
Before you even unsheathe your pen, you need to ensure you are using the right tools. The golden rule of government forms is strict: use black ink only. Blue ink, pencils, or felt-tip markers that bleed through the paper are often grounds for immediate rejection. The optical character recognition (OCR) software used to process these forms is calibrated for black ink, and deviations can cause reading errors.
Next, ensure you have legibly printed the form if you are filling it out by hand. If you have messy handwriting, it is highly recommended that you use the online form filler tool provided by your government’s passport agency. This tool allows you to type your answers and generates a printable PDF with a barcode, which significantly speeds up processing. If you must write by hand, use block capital letters to ensure maximum legibility.
Section 1: Personal Information
The first section of the application asks for your personal details. This seems straightforward, but it is where many people make mistakes. Your name must be written exactly as it appears on your evidence of citizenship (like your birth certificate) and your identification. Do not use nicknames. If your birth certificate says “Michael” but you go by “Mike,” you must write “Michael.”
If your name has changed due to marriage or a court order, you must use your current legal name and be prepared to submit documentation (like a marriage certificate) linking the old name to the new one. Consistency is key across all your submitted documents.
When filling out your Date of Birth and Place of Birth, be precise. For the Place of Birth, you typically need to list the city and state (if in the US) or the city and country (if outside the US). Do not abbreviate city names, although state abbreviations are generally acceptable if they follow standard postal codes.
Section 2: Social Security Number
For US applicants, providing a Social Security Number (SSN) is mandatory if you have been issued one. Failing to provide this number can result in a significant delay and a $500 penalty enforced by the IRS. If you have never been issued an SSN, you will generally need to sign a separate statement attesting to this fact. Double-check every digit; a single transposed number can flag your application for fraud review.
Section 3: Contact Information
The agency needs a way to contact you if there are issues with your application. Provide a primary phone number where you are easily reached during business hours. In the email address field, use an email that you check regularly. Status updates and emergency notifications regarding your application are often sent via email.
Section 4: Mailing Address
This is arguably the most critical field after your name. This is where your new passport will be sent. If you live in an apartment, you must include the unit number. Passports are sensitive documents sent via trackable mail; if the address is incomplete, the postal service may return the document to the agency rather than risk delivering it to the wrong person.
If you are using a PO Box or a friend’s address, make sure you follow the specific instructions on the form for “In Care Of” labeling. If your mailing address is different from your permanent physical address, there will usually be a separate section to list your physical residence. You cannot use a PO Box as your permanent physical residence.
Section 5: Parental Information
Most passport applications, particularly for first-time applicants, require you to list your parents’ information. This includes their full names (including your mother’s maiden name), dates of birth, and places of birth. This is used to establish your citizenship lineage.
If you do not know this information, do not guess. It is better to write “Unknown” than to provide false information. However, for minors, this section is heavily scrutinized to prevent international parental child abduction, so accuracy is paramount.
Section 6: Physical Description
Section 7: Travel Plans
Many forms ask about your upcoming travel plans. If you have not booked a ticket yet, that is perfectly fine. You can list “None” or put tentative dates. However, if you are requesting expedited service because you are traveling in less than two weeks, the dates you list here must match the proof of travel (like a flight itinerary) that you show to the acceptance agent.
Section 8: Emergency Contact
While not printed on the passport data page itself, this information is stored in the database. Choose someone who does not travel with you often, such as a parent, sibling, or close friend who stays home. This ensures that if something happens to you and your travel companions, the authorities have a reliable third party to contact.
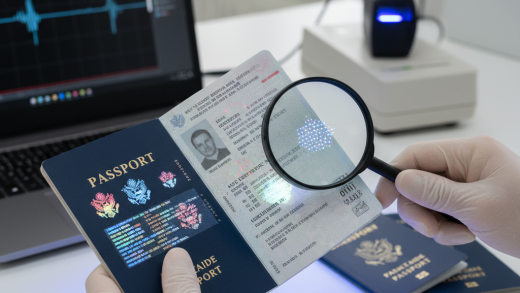
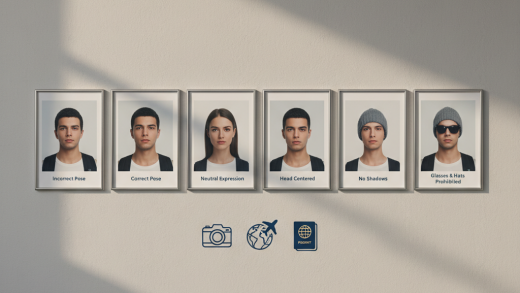
The Photo: Adhering to the Form
Once the text is filled out, you must deal with the photo. Do not attach the photo yourself unless explicitly instructed to do so. In the US, the instructions specifically say to staple the photo using four vertical staples in the corners of the photo box. However, many acceptance agents prefer to do this themselves to ensure it is done correctly.
If you do attach it, ensure the photo meets all biometric requirements: a white background, no glasses, a neutral expression, and correct sizing (2×2 inches). A bad photo is the number one reason for application suspension. Do not use paper clips or tape, as these can damage the photo or the form.
The Signature: A Critical Warning
This is the most important step in the entire process: DO NOT SIGN THE APPLICATION YET.
If you are applying for a new passport (using Form DS-11 in the US), you must sign the document in the presence of an authorized acceptance agent. This is an oath. Signing it at home voids the oath, and the agent will make you fill out a completely new form from scratch. Only renewal forms (sent by mail) should be signed before mailing.
Review and Corrections
Before you head to the post office or passport agency, take a break and then come back to review your form. Read every letter backward and forward. Check the birth dates. Check the SSN. If you find a mistake, do not use white-out or correction fluid. These are strictly forbidden on official government documents.
If you make a mistake, you must start over on a fresh page. While a single line striking through a mistake is occasionally accepted for minor errors, it is risky. The safest route is always a clean, error-free form.
Supporting Documents and Photocopies
Filling out the form is only half the battle. You must submit it alongside evidence of citizenship (birth certificate or naturalization certificate) and identification (driver’s license). Most agencies require you to submit a photocopy of the front and back of your ID on standard white paper. Prepare this in advance so you aren’t scrambling for a copy machine at the acceptance facility.
Payment Methods
Finally, check the payment section. Passport fees often need to be paid via two separate methods: the application fee (paid to the Department of State) and the execution fee (paid to the facility, like the Post Office). The Department of State usually requires a personal check or money order; they rarely accept credit cards or cash directly with the application. The acceptance facility, however, may take cards for their portion of the fee.
Conclusion
Filling out a passport application correctly is an exercise in attention to detail. It requires black ink, clear handwriting, and a strict adherence to instructions. By taking the time to review every box and resisting the urge to sign before your appointment, you ensure that your application moves through the system without red flags. Once that paperwork is filed correctly, you can stop worrying about bureaucracy and start dreaming about your destination.