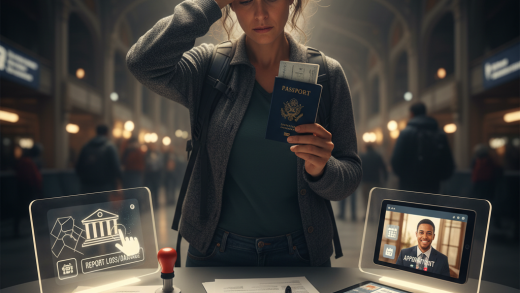
Arriving in a new country is an exciting experience, but before you can explore your destination, you must pass through one critical checkpoint: Immigration Control. Also known as passport control or border security, this process is designed to verify your identity and ensure you have the legal right to enter the country. While it can seem intimidating, understanding the procedure beforehand can transform a potentially stressful situation into a smooth formality. This guide provides a comprehensive walkthrough of what to expect and how to prepare for immigration clearance at major international airports.
Essential Documents Checklist
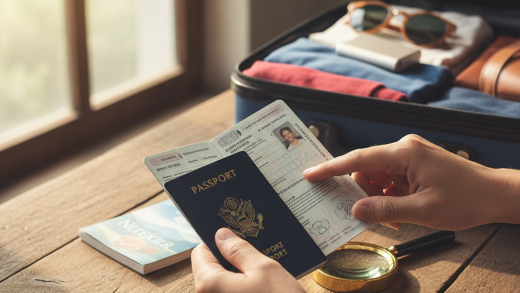
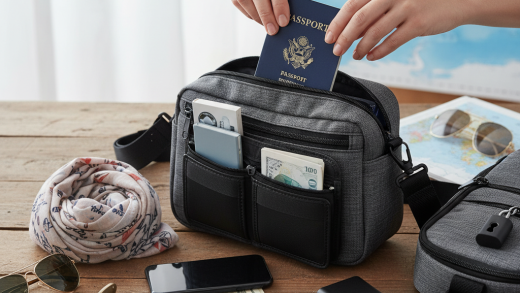
Before you even step off the plane, preparation is key. The immigration officer will expect you to have specific documents ready for inspection. Fumbling through your bags can cause delays and raise unnecessary suspicion. Ensure you have the following items easily accessible in your carry-on:
- Valid Passport: Ensure it has at least six months of validity remaining beyond your date of entry.
- Visa or Electronic Travel Authorization (eTA): If required for your nationality and the destination country.
- Arrival Card/Landing Card: Many countries still require a physical form filled out with your details, though some are moving to digital kiosks.
- Proof of Onward Travel: A return ticket or a ticket to a third destination to prove you intend to leave.
- Proof of Accommodation: A hotel booking confirmation or the address of the host you are staying with.
- Financial Sufficiency: Occasionally, you may be asked to prove you have enough funds for your stay (cash or credit cards).
Step 1: Disembarkation and Following Signage
Once your flight lands and you exit the aircraft, your first task is to follow the airport signage. Look for signs that say "Immigration," "Passport Control," or "Border Control." Do not linger in the corridors or attempt to use restrooms unless urgent, as queues can build up very quickly when multiple large aircraft land simultaneously. It is strictly advised to put away your mobile phone at this stage; taking photos or making calls in the immigration hall is prohibited in almost all countries and can lead to confiscation of your device or denial of entry.
Step 2: Selecting the Correct Queue
Upon reaching the immigration hall, you will see various lanes designated for different categories of travelers. Choosing the wrong lane is a common mistake that wastes time. Typically, lanes are divided into:
- Residents/Citizens: For passport holders of the country you are entering.
- Foreign Nationals/Visitors: For tourists and visa holders.
- Diplomats/Crew: Restricted access lanes.
- e-Gate/Automated Gates: For eligible passengers with biometric passports who have registered for expedited entry.
Read the screens above the counters carefully and join the appropriate line.
Step 3: The Interview with the Immigration Officer
When it is your turn, approach the counter alone unless you are traveling with young children or family members who require assistance. Hand over your passport and arrival card to the officer. Remove your hat, sunglasses, and face mask so your face is clearly visible. The officer will scan your passport and may ask a series of questions to verify your intent. Common questions include:
- "What is the purpose of your visit?" (e.g., Tourism, Business, Visiting Family)
- "How long do you intend to stay?"
- "Where will you be staying?"
- "Do you have a return ticket?"
Tip: Answer clearly, concisely, and truthfully. Do not offer extra information unless asked. Inconsistencies between your verbal answers and your paperwork can trigger a secondary inspection.
Step 4: Biometric Scanning
Modern border control relies heavily on biometric data to enhance security. After reviewing your documents, the officer may ask you to place your fingers on a fingerprint scanner. Usually, this involves scanning the four fingers of your right hand, followed by the left, or just the thumbs. You will also be asked to look into a camera for a facial recognition photo. Ensure you look straight ahead with a neutral expression. This process is generally quick and non-intrusive.
Step 5: Entry Stamp and Exit
Once the officer is satisfied with your documentation and interview responses, they will stamp your passport with an entry seal. This stamp often indicates the date of entry and the maximum duration of your permitted stay. Always check the stamp immediately to ensure the date and permitted days align with your travel plans. If you used an automated e-Gate, you might not receive a physical stamp, but a digital entry record is created. Retrieve your documents and proceed immediately to the baggage claim area and Customs clearance.
Clearing immigration is a standard protocol designed to keep borders safe. By having your documents organized, understanding the queuing system, and answering questions honestly, you can navigate this process with ease. Remember that immigration officers are simply doing their job; a polite demeanor and preparedness go a long way. Once you pass this checkpoint, you are officially welcomed into the country and ready to begin your journey.