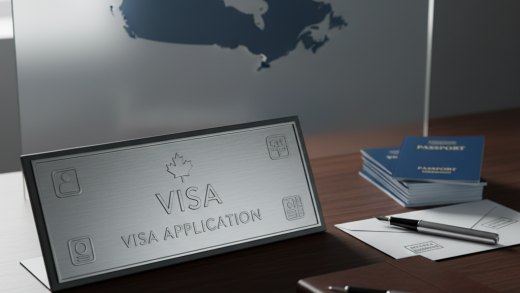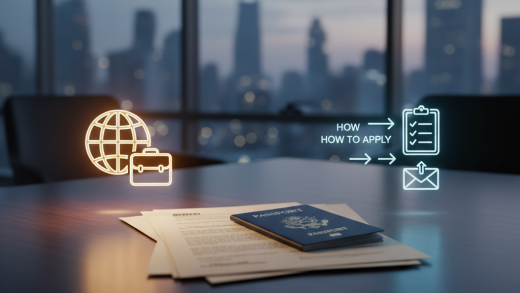
Expanding your business horizons often involves international travel. Whether you are attending a conference, meeting with potential clients, or negotiating a contract, securing the right travel documentation is the critical first step. A business visa is distinct from a tourist visa and allows you to engage in professional activities in a foreign country for a limited period. Navigating the bureaucratic landscape of visa applications can be daunting, but with the right preparation, it becomes a manageable process. This guide provides a detailed walkthrough to help you secure your business visa efficiently.
Common Requirements for a Business Visa
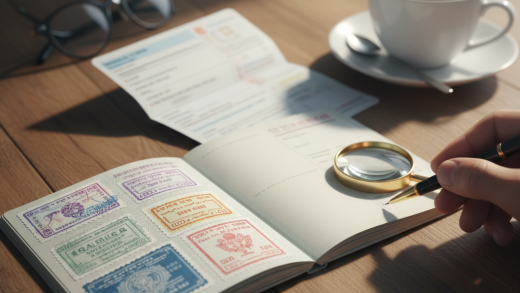
Before initiating the application, it is essential to understand that requirements vary significantly depending on your citizenship and the destination country. However, most consulates require a standard set of documents to verify the legitimacy of your trip. Ensuring you have these items ready can save weeks of processing time.
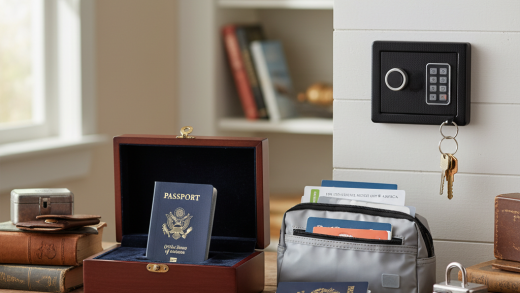
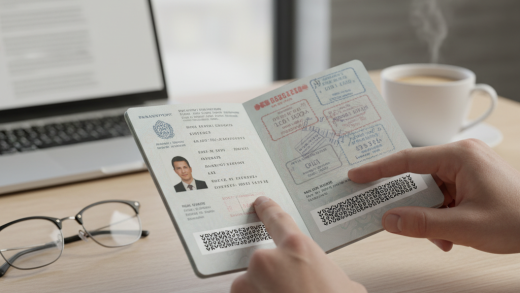
- Valid Passport: Your passport must be valid for at least six months beyond your intended date of return and have at least two blank pages for stamps.
- Letter of Invitation: A formal letter from the company you are visiting abroad, stating the purpose and duration of your visit.
- Letter from Employer: A letter from your current employer confirming your employment status, role, and that they are sponsoring the trip.
- Proof of Financial Means: Bank statements or sponsorship letters proving you can support yourself during the stay.
- Passport-Sized Photos: Recent photographs adhering to the specific size and background requirements of the consulate.
- Travel Itinerary: Proof of flight reservations and accommodation arrangements.
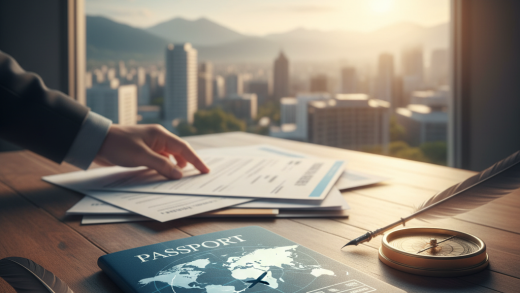
Step 1: Determine the Specific Visa Type and Jurisdiction
The first actionable step is to research the specific visa category you need. Some countries offer short-term business visas, while others may require a specific work-related entry permit depending on the nature of your activities. You must also identify the appropriate consulate or embassy that has jurisdiction over your place of residence. Visit the official government website of the destination country to verify the current fees, processing times, and specific forms required.
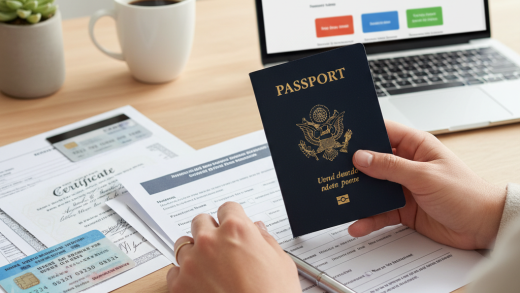
Step 2: Collect and Prepare Documentation
Once you have the checklist, begin gathering your documents immediately. This is often the most time-consuming part of the process. Request the Letter of Invitation from your foreign host early, as this document is frequently scrutinized. Ensure that the dates on your invitation match your flight itinerary and the dates mentioned in your employer’s letter. Discrepancies in dates are a common reason for visa rejections. If your documents need to be translated or notarized, arrange for these services well in advance.
Step 3: Complete the Application Form
Most countries now utilize online application systems (e-Visa) or fillable PDF forms. When completing the application, accuracy is paramount. Ensure that your name appears exactly as it does in your passport. Answer all questions truthfully regarding your travel history and background. In the section asking for the purpose of the trip, be specific (e.g., ‘Attending Global Tech Conference’) rather than vague. Save a digital copy of your completed application before submitting it.
Step 4: Schedule and Attend the Appointment
For many business visas, you will be required to appear in person at a visa application center or embassy for biometric data collection (fingerprints and photo) and an interview. Schedule this appointment as soon as you submit your application, as slots can fill up quickly. On the day of the appointment, dress professionally and arrive early. Bring all original documents and a set of photocopies. During the interview, answer questions clearly and concisely regarding your business agenda and your intent to return to your home country.
Step 5: Pay Fees and Track Application
Visa fees are generally non-refundable and must be paid via specific methods (credit card, bank draft, or cash). Keep the receipt safe, as you may need it to collect your passport later. After submission, you will likely receive a tracking number. Monitor the status of your application online. Processing times can range from a few days to several weeks, so avoid booking non-refundable tickets until the visa is approved, unless the consulate explicitly demands confirmed tickets beforehand.
Conclusion
Applying for a business visa requires attention to detail and patience. By understanding the requirements and following this step-by-step guide, you can minimize the risk of delays or rejections. Remember that immigration officers are looking for assurance that your trip is legitimate and temporary. With your paperwork in order and a clear understanding of your itinerary, you will be well on your way to a successful international business trip.