Traveling internationally has become increasingly accessible thanks to the Visa on Arrival (VoA) policies adopted by many tourism-friendly nations. Countries such as Thailand, Indonesia, Cambodia, the Maldives, and Nepal allow travelers to obtain their entry permits directly at the airport upon landing, bypassing the need for lengthy embassy visits prior to the trip. However, the convenience of a VoA implies that the traveler must be strictly prepared with the correct documentation upon landing. A lack of preparation can lead to long delays or even denied entry. This guide provides a detailed walkthrough on how to successfully navigate the Visa on Arrival process.
Prerequisites and Essential Requirements
Before you board your flight, you must ensure you possess the standard documents required by immigration authorities. While specific rules vary by country, the universal requirements generally include:
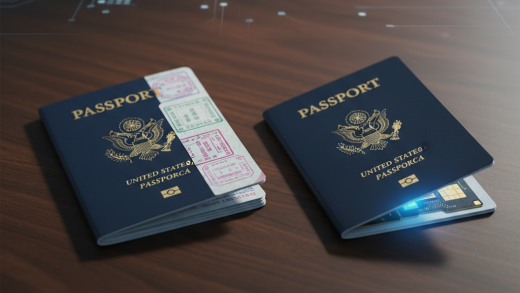
- Passport Validity: Your passport must be valid for at least 6 months beyond your date of arrival.
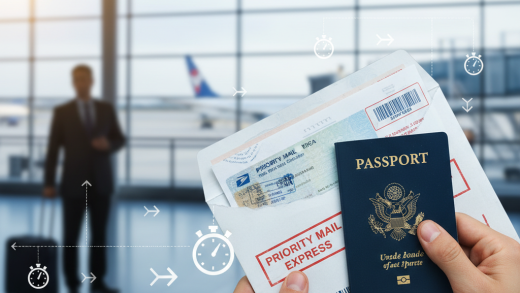
- Return Flight Ticket: Printed proof of a return or onward ticket to show you intend to leave the country.
- Proof of Accommodation: A printed hotel reservation or an invitation letter from a host with their address.
- Passport Photos: Two recent passport-sized photographs (usually 4×6 cm with a white background).
- Visa Fee: Cash in US Dollars (USD) or the local currency, as card machines are often unreliable at border posts.
- Proof of Funds: Bank statements or sufficient cash to prove you can support yourself during the stay.
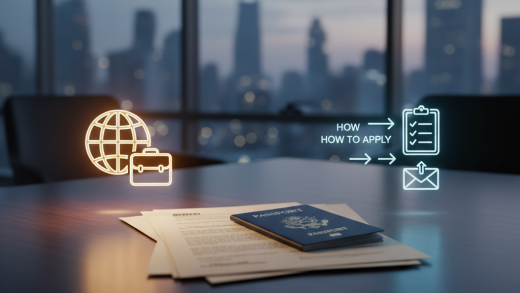
Step 1: Check Eligibility and Specific Rules
The most critical step is research. Visit the official embassy website or the immigration department portal of your destination country. Confirm that your specific nationality is eligible for a Visa on Arrival. Additionally, verify which entry points issue VoAs; sometimes they are available at major international airports but not at smaller land border crossings.
Step 2: Prepare Physical Documents and Currency
Do not rely on digital copies of your documents. Phones can run out of battery, and airport Wi-Fi can be spotty. Print out your flight itinerary, hotel bookings, and travel insurance policy. Furthermore, visit a currency exchange before you fly. Many VoA counters strictly demand cash payments in USD or Euros. Having exact change is highly recommended to avoid delays.
Step 3: Locate the VoA Counter Upon Landing
Upon disembarking the plane, do not head straight to the regular immigration queues. Look for signage indicating "Visa on Arrival" or "Visa Collection". These counters are typically located just before the main passport control area. If you miss this step and stand in the immigration line first, you will be sent back, wasting valuable time.
Step 4: Fill Out the Application and Pay Fees
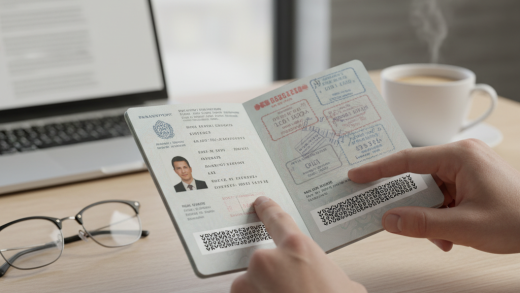
At the counter, you may need to fill out an arrival card or a specific visa application form if you haven’t done so on the plane. Present your form, passport, photos, and other supporting documents to the officer. Hand over the visa fee in cash. Once processed, the officer will stick a visa label in your passport or stamp it. Important: Check the stamped date immediately to ensure the duration of stay granted matches your travel plans.
Step 5: Clear Immigration and Customs
With the visa sticker now affixed to your passport, proceed to the standard immigration control line. Present your passport to the immigration officer, who will scan it and stamp your official entry date. After clearing immigration, collect your baggage and pass through customs to officially enter the country.
Conclusion
Getting a Visa on Arrival is a convenient option that allows for spontaneous travel, provided you adhere to the entry rules. By carrying the right documents, sufficient cash, and valid photos, you can navigate the process efficiently. Always double-check the latest travel advisories before your trip, as immigration policies are subject to change without prior notice.