Applying for a passport was once synonymous with long queues and endless paperwork. However, with the advent of e-government services, many countries now offer streamlined online systems for passport applications and renewals. Whether you are planning a business trip or a dream vacation, securing your travel document is the first step. This guide will walk you through the general process of applying for a passport online, ensuring you avoid common mistakes and delays.
Essential Documents and Requirements
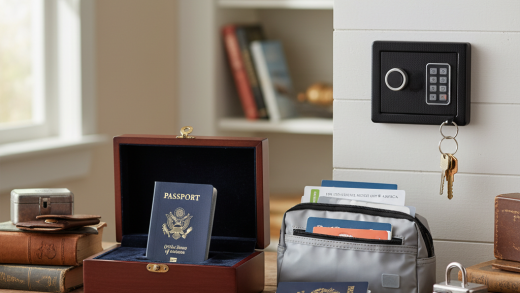
Before you log in to any portal, preparation is key. Most online sessions have a timeout limit, so having your documents ready is crucial. While specific requirements vary by country, you generally need the following:
- Proof of Citizenship: A scanned copy of your birth certificate, naturalization certificate, or a previous passport.
- Identity Verification: A valid government-issued ID, such as a driver’s license or national ID card.
- Digital Photograph: A high-resolution, color photo taken within the last six months against a plain white background.
- Payment Method: A valid credit or debit card for processing fees.
Step 1: Access the Official Government Portal
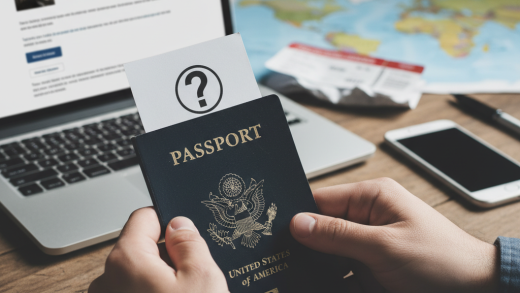
The first step is to visit the official passport authority website of your country. Be wary of third-party sites that charge extra fees for ‘expediting’ services that are essentially free. Look for official government domains (such as .gov or .gov.uk). Once there, navigate to the ‘Apply Online’ or ‘Passport Services’ section to begin your journey.
Step 2: Create an Account and Start the Application
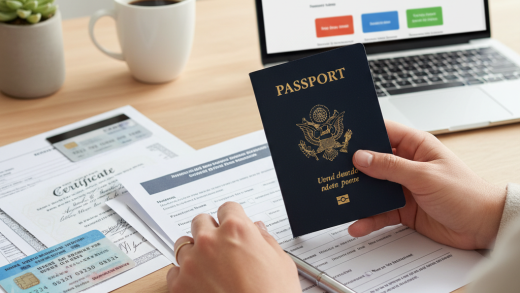
Most systems require you to register a user account to track your application status. Register using a valid email address and create a secure password. Once logged in, select the appropriate form. If you are applying for the first time, select ‘New Application.’ If you are renewing, select ‘Renewal.’ Fill in your personal details exactly as they appear on your supporting documents. Typos regarding your name or date of birth can lead to immediate rejection.
Step 3: Uploading Your Digital Photo
This is often the trickiest part of the online application. The system will ask you to upload a digital photo. Ensure your photo meets the strict ICAO (International Civil Aviation Organization) standards:
- Neutral Expression: Mouth closed and eyes open.
- No Accessories: Remove glasses, hats, or head coverings (unless for religious purposes, and the face must still be visible).
- Lighting: Ensure there are no shadows on your face or the background.
Many portals have an automated photo checker that will accept or reject the image instantly.
Step 4: Pay the Application Fees
After filling out the form and uploading documents, you will be directed to the payment gateway. Fees depend on the type of service (standard vs. expedited) and the number of pages in the passport. Review your application one last time before making the payment, as refunds are rarely issued for user errors. Use a secure credit or debit card to complete the transaction. Save the payment receipt and the application reference number.
Step 5: Schedule an Appointment or Mail Documents
For many first-time applicants, the online process is a ‘pre-fill’ stage. You may still need to visit a passport office or post office physically to provide biometric data (fingerprints) and verify your original documents. use the online portal to schedule an appointment slot that suits you. If you are renewing, you might simply need to print a confirmation sheet and mail your old passport to the processing center.
Conclusion
Applying for a passport online is a convenient and efficient way to handle your travel documentation. By following these steps and ensuring your documents are accurate, you can significantly reduce the processing time. Remember to apply well in advance of your travel dates to account for any unforeseen delays in the verification process. Safe travels!