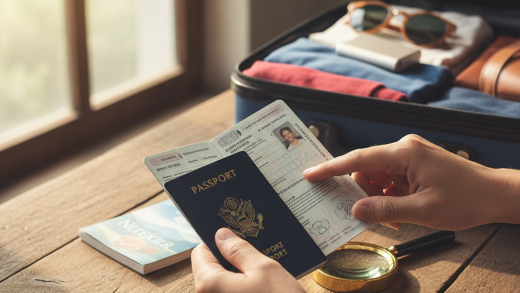
Why Take a Passport Photo at Home? The advantages are numerous. Primarily, you save money. Passport photos at professional studios often come with a fee. Doing it yourself cuts down on these costs. Furthermore, it gives you more control. You can take multiple shots and choose the best one, ensuring you are completely satisfied with the result. Finally, it offers significant convenience. You can take the photo anytime, without needing to schedule an appointment or travel.
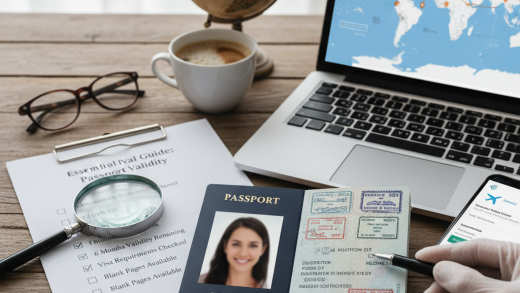
Understanding Passport Photo Requirements: The Basics Before you even pick up your camera, it’s crucial to understand the official requirements. These rules are stringent and vary slightly by country, so always check the specific guidelines for your nation’s passport agency. However, some general principles apply universally.
1. Photo Size and Dimensions: The dimensions are critical. The photo must be of the specified size, typically measured in millimeters or inches. For example, a common requirement is 2 x 2 inches (51 x 51 mm). Check your local guidelines for precise measurements. These measurements are for the face size, face position, and the overall image size.
2. Head Size and Position: Your head size, measured from the top of your head to the bottom of your chin, is strictly defined. The position of your head is important too. You must face the camera directly, with your eyes open and looking straight ahead. Your head should be centered within the frame.
3. Background: The background must be plain and of a specific color, typically white or off-white. There should be no shadows, patterns, or objects visible in the background.
4. Attire and Accessories: There are regulations about what you can wear in the photo. Avoid wearing hats or head coverings that obscure your face, unless worn for religious purposes. Eyeglasses are usually permitted, but the frames cannot obscure your eyes, and there should be no glare.
5. Facial Expression: You must have a neutral facial expression, with your mouth closed. Avoid smiling, frowning, or any expression that might distort your features. Your natural expression is key.
6. Lighting: Proper lighting is essential to prevent shadows and ensure the photo is well-exposed.
Equipment You’ll Need: You don’t need expensive professional equipment, but certain items are necessary to achieve the best results.
1. A Camera: A smartphone camera is usually sufficient. A digital camera is also suitable. Ensure the camera has a decent resolution and can capture clear images.
2. A Tripod (Optional but Recommended): A tripod helps stabilize the camera, preventing blurry photos. It allows you to maintain consistent framing and positioning.
3. A White or Off-White Background: You can use a plain white wall, a large sheet of white paper, or a white backdrop. Make sure the surface is smooth and free of wrinkles or imperfections.
4. Good Lighting: Natural daylight is ideal. If that’s not possible, use soft, diffused artificial light sources. Avoid direct sunlight or harsh overhead lights.
5. A Ruler or Measuring Tool: You’ll need this to ensure that your photo meets the size and dimension requirements.
6. Photo Editing Software (Optional): Software like Adobe Photoshop, GIMP (free), or online tools can help you crop, resize, and adjust the photo.
Step-by-Step Guide to Taking Your Photo: Follow these steps to take a passport photo at home.
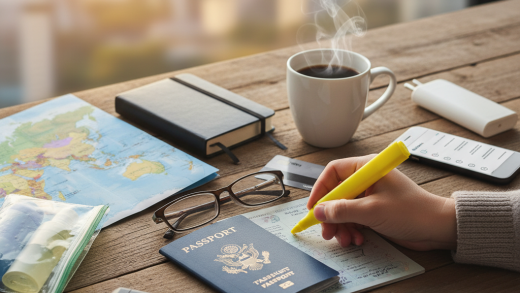
1. Preparation: Choose your location. Find a well-lit area with a plain white or off-white background. Make sure the area is free of distractions. Dress appropriately, following attire guidelines. Comb your hair, and remove any accessories that might be problematic.
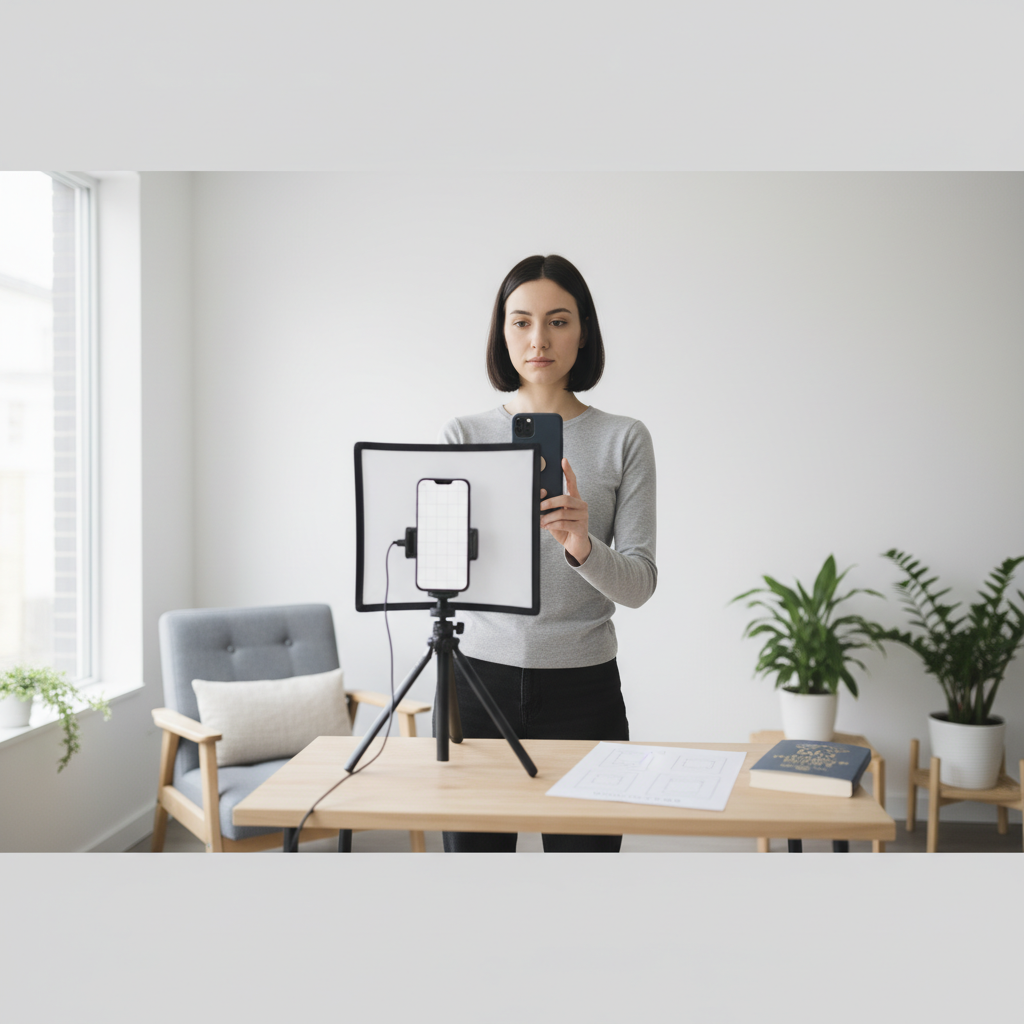
2. Setting up the Background and Lighting: Position the background behind you. If using a wall, ensure it’s clean and uniform. For lighting, position yourself facing a window or use softbox lights to evenly illuminate your face. Avoid shadows by placing the light source directly in front of you.
3. Framing the Shot: Mount your camera on a tripod (recommended). Position yourself so that your entire head and shoulders are visible in the frame. Your head should be centered and occupy the required space in the photo. Use the ruler to ensure correct head size and position.
4. Taking the Photo: Ask someone to help if possible, or use the timer function on your camera. Take several photos to ensure you have a variety to choose from. Make sure you are facing the camera directly, with your eyes open and your mouth closed. Maintain a neutral expression.
5. Reviewing the Photos: Review the photos carefully on your computer or phone screen. Select the best photo that meets all the requirements. Pay attention to lighting, expression, background, and head size.
Photo Editing and Resizing: This step is often necessary to perfect your photo.
1. Cropping and Resizing: Use photo editing software or online tools to crop the photo to the required dimensions. Ensure your head size and position are correct within the frame.
2. Adjusting Brightness and Contrast (Optional): Adjust the brightness and contrast to enhance the image quality. Avoid over-editing, as it can distort your features.
3. Removing Imperfections (Optional): If necessary, remove minor blemishes or imperfections using photo editing tools. Avoid significant alterations that change your appearance.
4. Saving the Photo: Save the photo in a standard format (e.g., JPEG). Keep a copy of the original and the edited version.
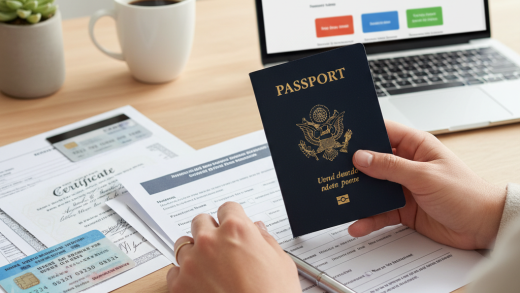
Submitting Your Photo: Once you’ve perfected your photo, it’s time to submit it.
1. Check Your Local Guidelines: Always refer to the official guidelines for your passport agency or relevant authority. They will specify the acceptable methods of submission.
2. Digital Submission: Many agencies allow digital submission through an online portal. Follow the instructions provided to upload your photo.
3. Printed Submission: If physical prints are required, print the photo at a photo printing service. Ensure the print meets the size and quality specifications.
1. Incorrect Background: A background that isn’t plain white or off-white is a common reason for rejection.
2. Poor Lighting: Shadows and uneven lighting can make your photo unacceptable. Ensure even, diffused lighting.
3. Wrong Photo Size: Photos that are not the correct size will be rejected. Always double-check dimensions.
4. Facial Expression: Smiling or having any other expression other than neutral is not acceptable.
5. Incorrect Attire: Avoid wearing hats, head coverings (unless for religious purposes), or clothing that obscures your face.
Conclusion: Taking a passport photo at home is a manageable task that can save you time and money. By following these steps and paying attention to the details, you can create a perfect passport photo that will meet all the requirements. Remember to always check and adhere to the official guidelines of your passport-issuing authority for the most accurate and up-to-date information. Good luck!
1. Take Multiple Shots: Don’t settle for the first photo. Take several shots to increase your chances of getting a good one.
2. Get a Second Opinion: Ask a friend or family member to review the photo and make sure it meets the requirements.
3. Consider Professional Retouching Services: If you’re not confident in your editing skills, you can use online photo retouching services. They can help you with cropping, resizing, and adjusting your photo.
4. Practice Makes Perfect: The first time may be a learning experience. Take several test shots before taking the official photo.
5. Be Patient: Taking a good passport photo requires patience and attention to detail. Don’t rush the process.